· 3 min read
Getting started with the SharePoint Starter Kit from the PnP team
Lots of exciting announcements from the SharePoint 2018 conference in Las Vagas, but one area I started to play with is the newest sp-starter-kit project from PnP.
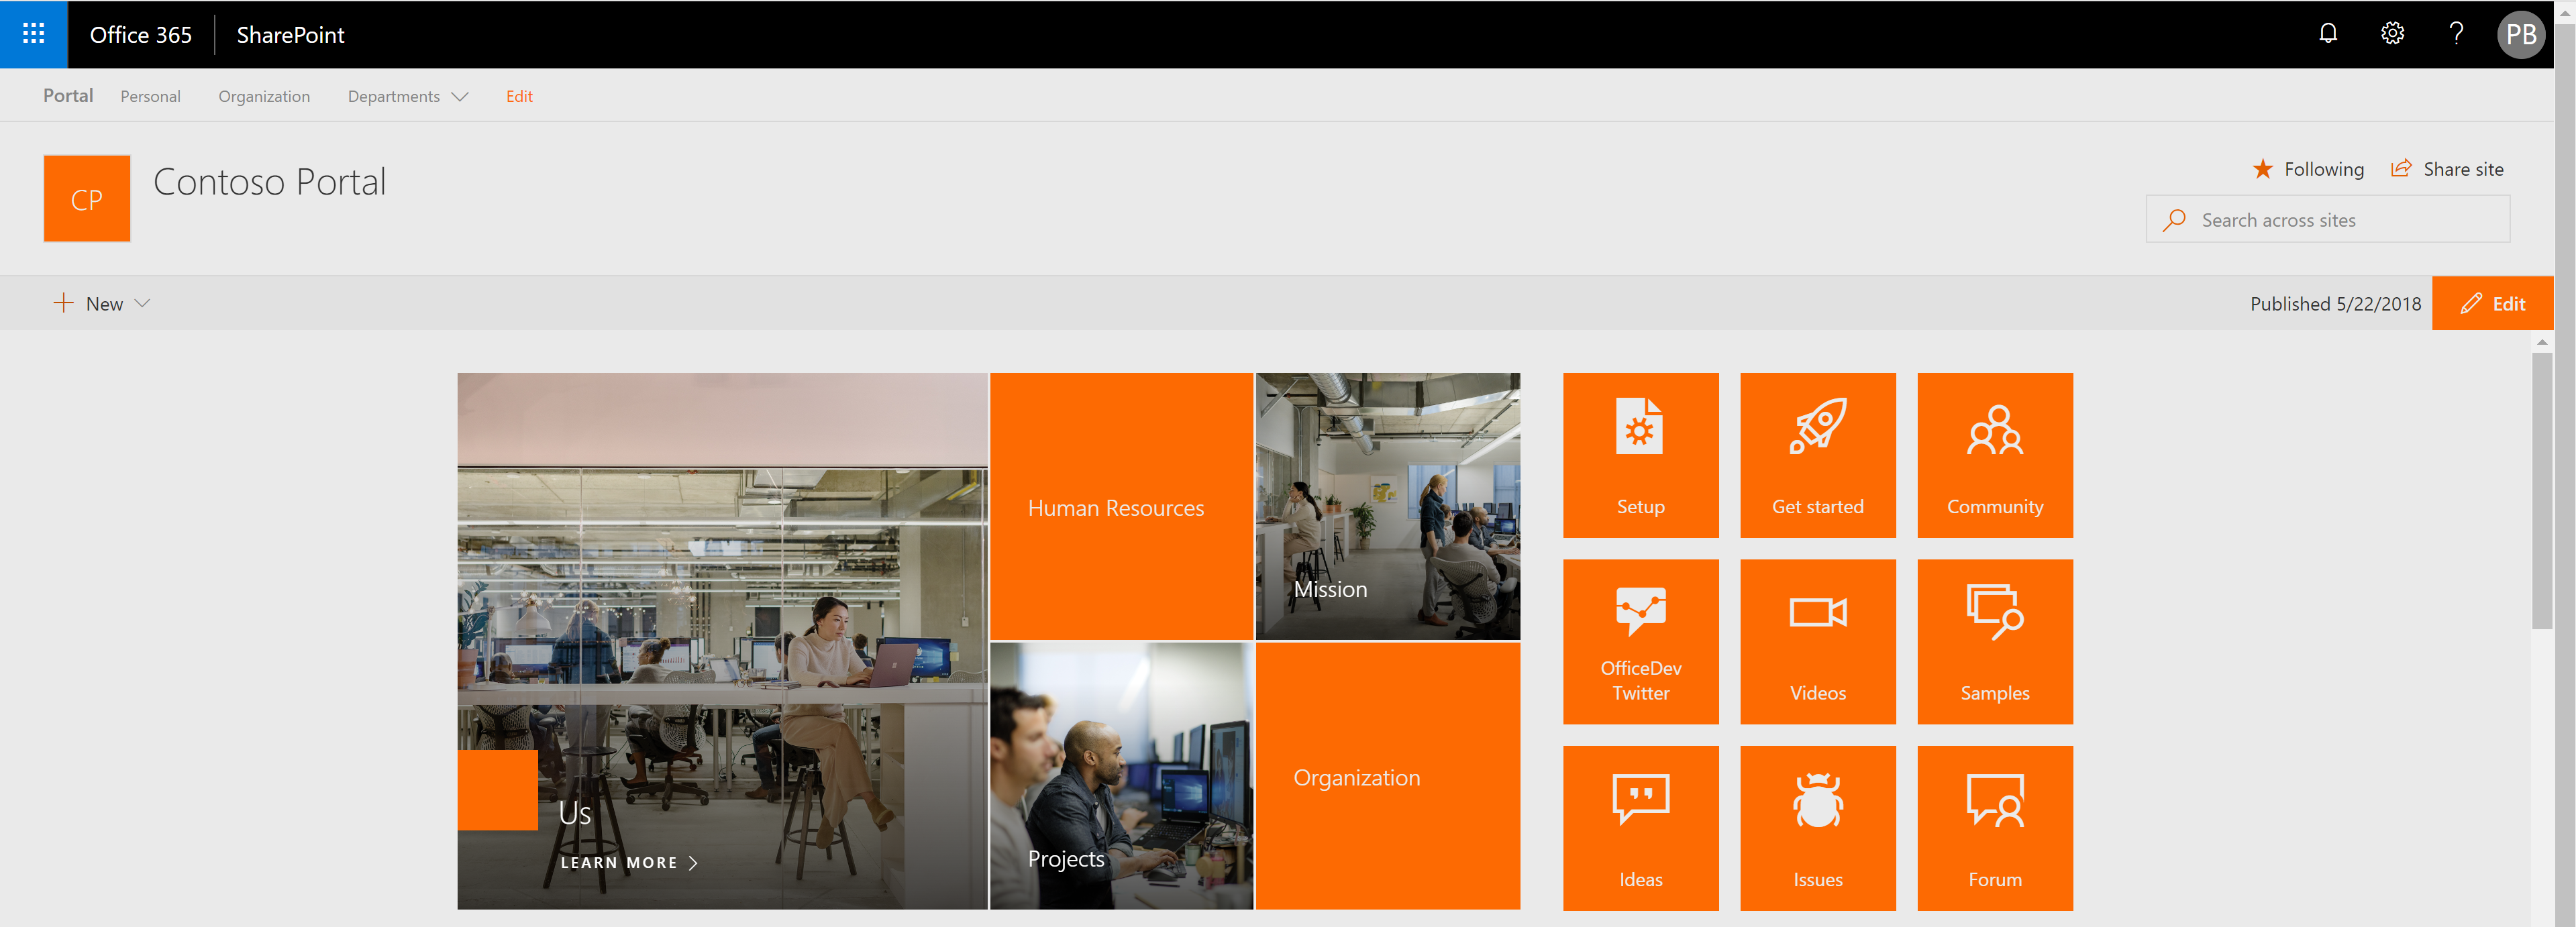
Lots of exciting announcements from the SharePoint 2018 conference in Las Vagas, but one area I started to play with is the newest sp-starter-kit project from PnP. However, there isn’t much in the way of documentation (yet), so I thought I’d of just note down some steps to get going…
Prerequisites
There are a few things you going to need before you can deploy:
- You will need a Office 365 tenant with SharePoint Admin Role permissions - I would highly recommend using a demo or developer tenant
- You will need to compile the SPFX project located in the solution folder ensure you have:
- SPFX 1.4.1 installed - See setting up your development site
- -or- Docker container (see Waldek Mastykarz’s SPFX Image on Docker Hub)
- The PnP PowerShell library installed - See instructions here
- SharePoint Online Management Shell - Download here from Microsoft
Lets go
Firstly, go and grab the project from the GitHub repository at https://github.com/SharePoint/sp-starter-kit
I found the deployment scripts under provisioning/deploy.ps1 with one mandatory parameter TenantURL. I noticed that the script required compilation of the SPFX solution.
So make sure you have SPFX 1.4.1 installed and the script will run the compilation for you. (Or in my case, I’ve recently started to use docker, which is awesome by the way (see here if you want to get started with Docker and SPFX Development), I started a container with the following command
cd \your project\
docker run -it --rm --name sp-starter-intranet -v ${PWD}:/usr/app/spfx -p 5432:5432 -p 4321:4321 -p 35729:35729 waldekm/spfx
and in the container ran the gulp commands in SPFX following:
- npm install
- gulp build
- gulp bundle —ship
- gulp package-solution —ship
Once compiled, the next step is to run the deployment script on my host machine. Open a PowerShell prompt and go to the provisioning folder and run:
.\\deploy.ps1 -tenanturl https://{yourtenant}.sharepoint.comDon’t specify a site collection (e.g. /Sites/xxx) - I tried that (script assumes the address is root). This will create the following sites for you:
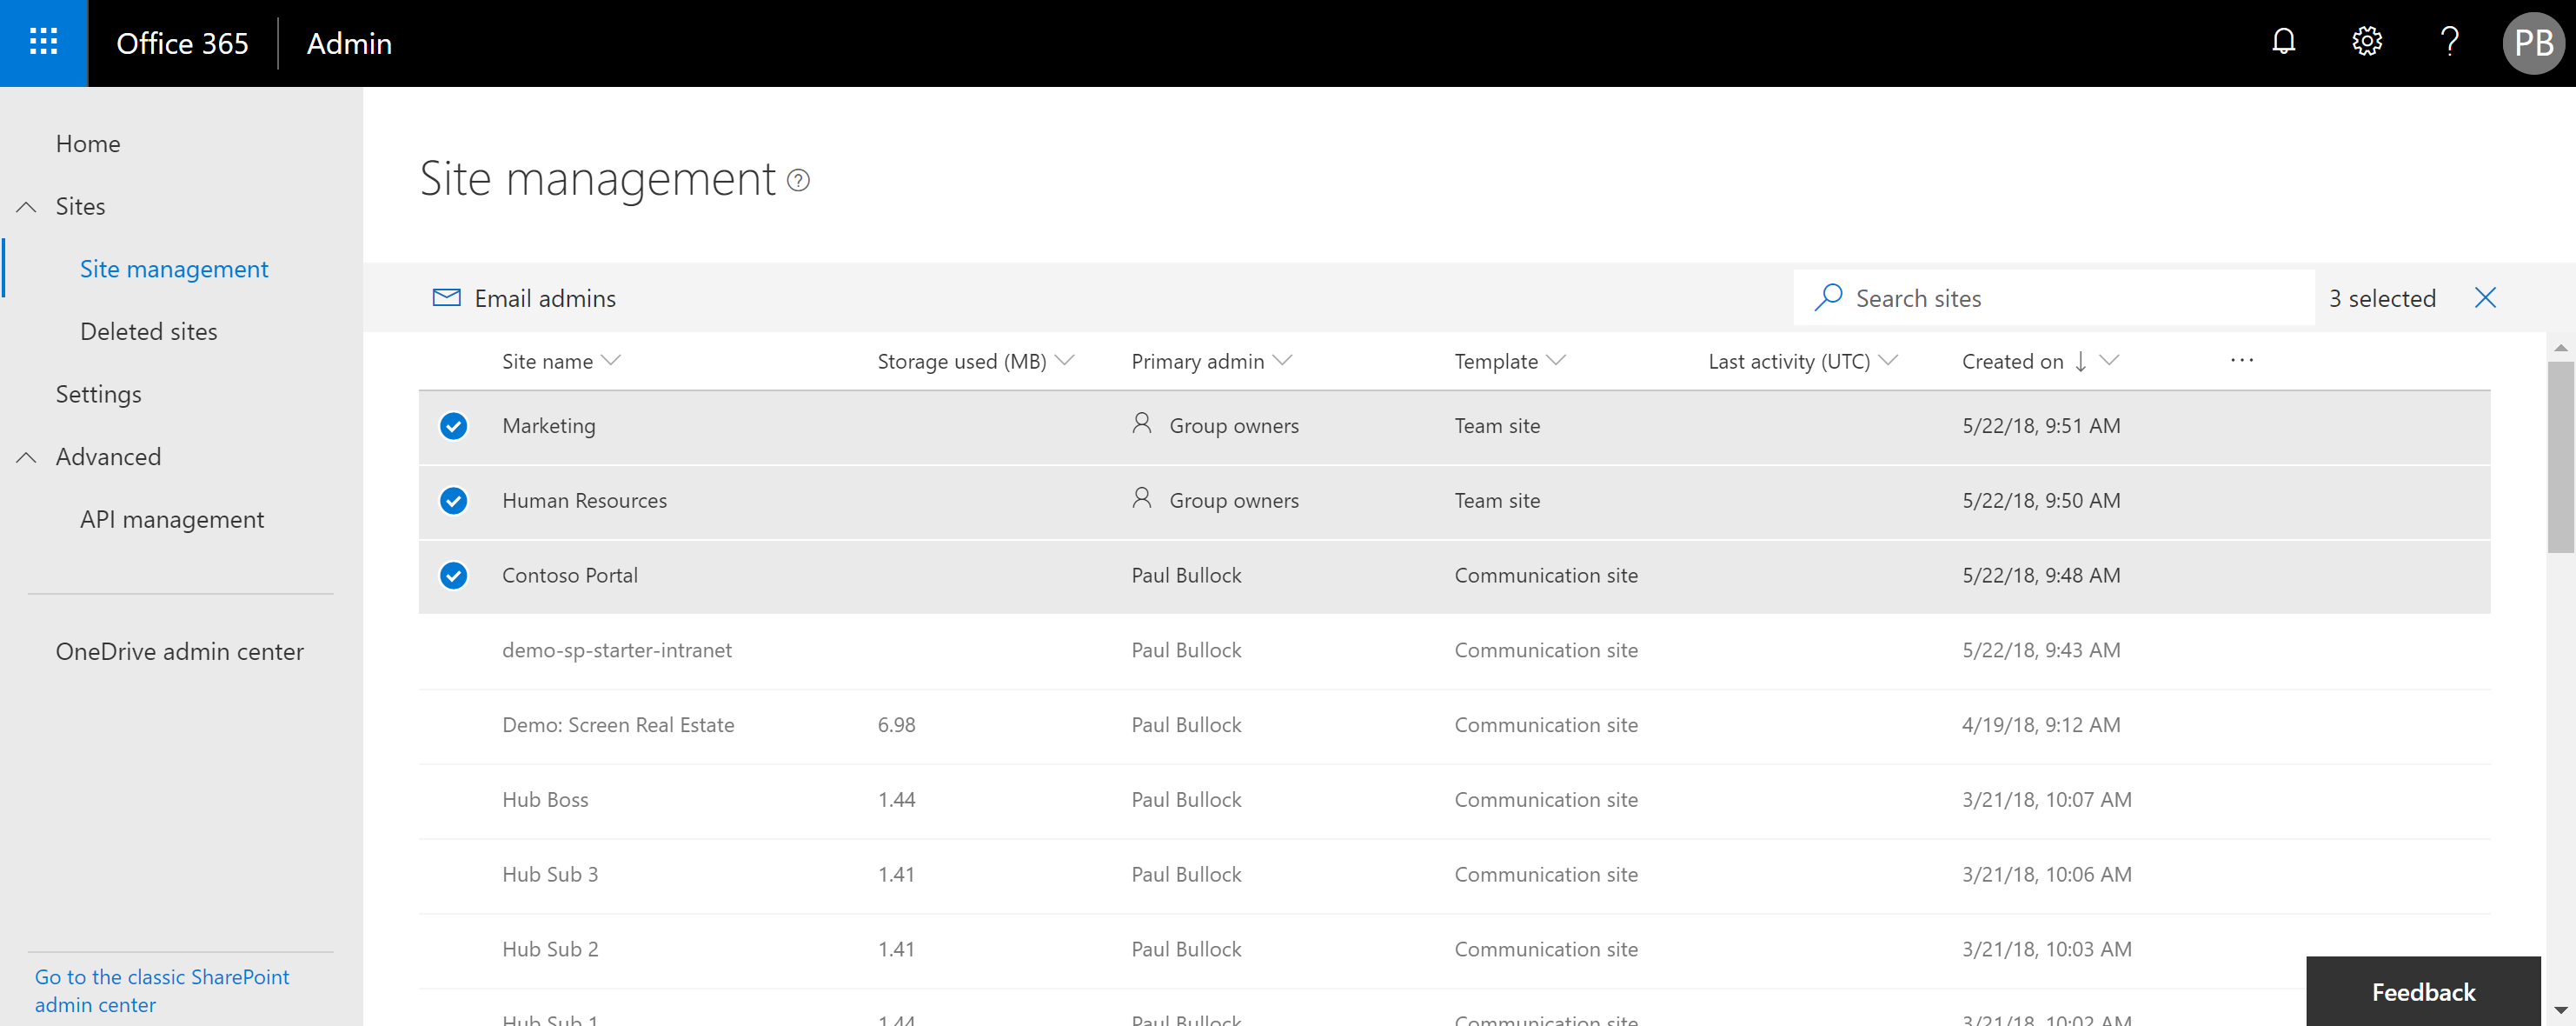
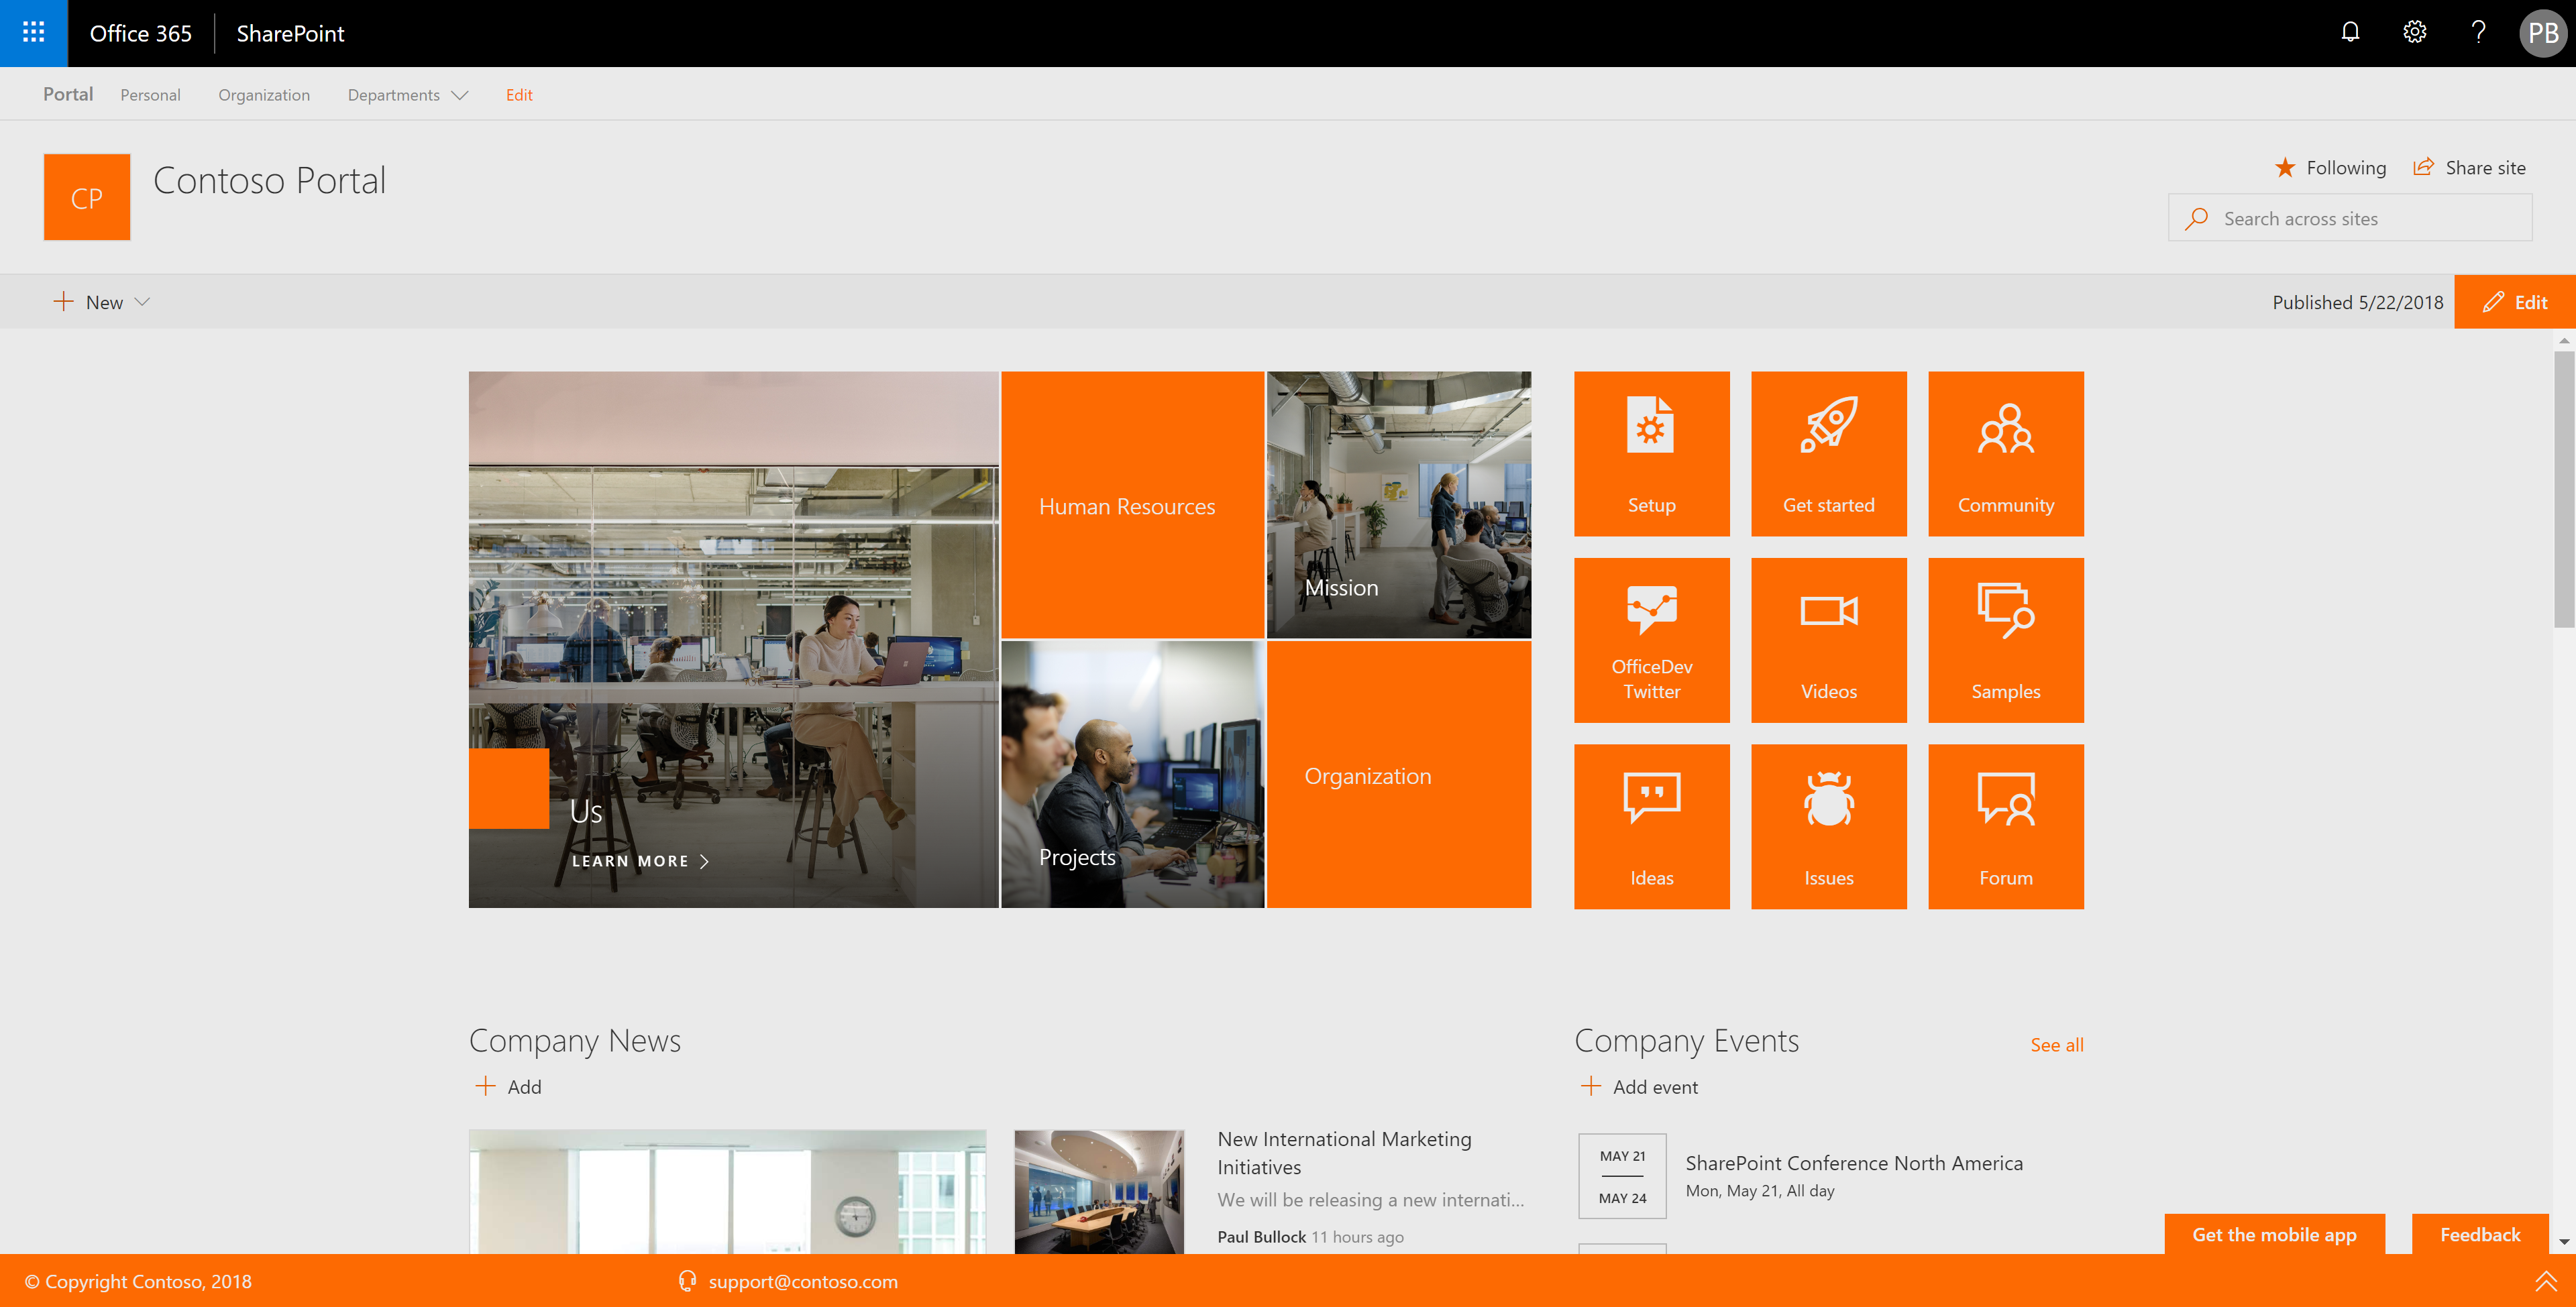
- Contoso Portal (/Sites/Demo_Portal)
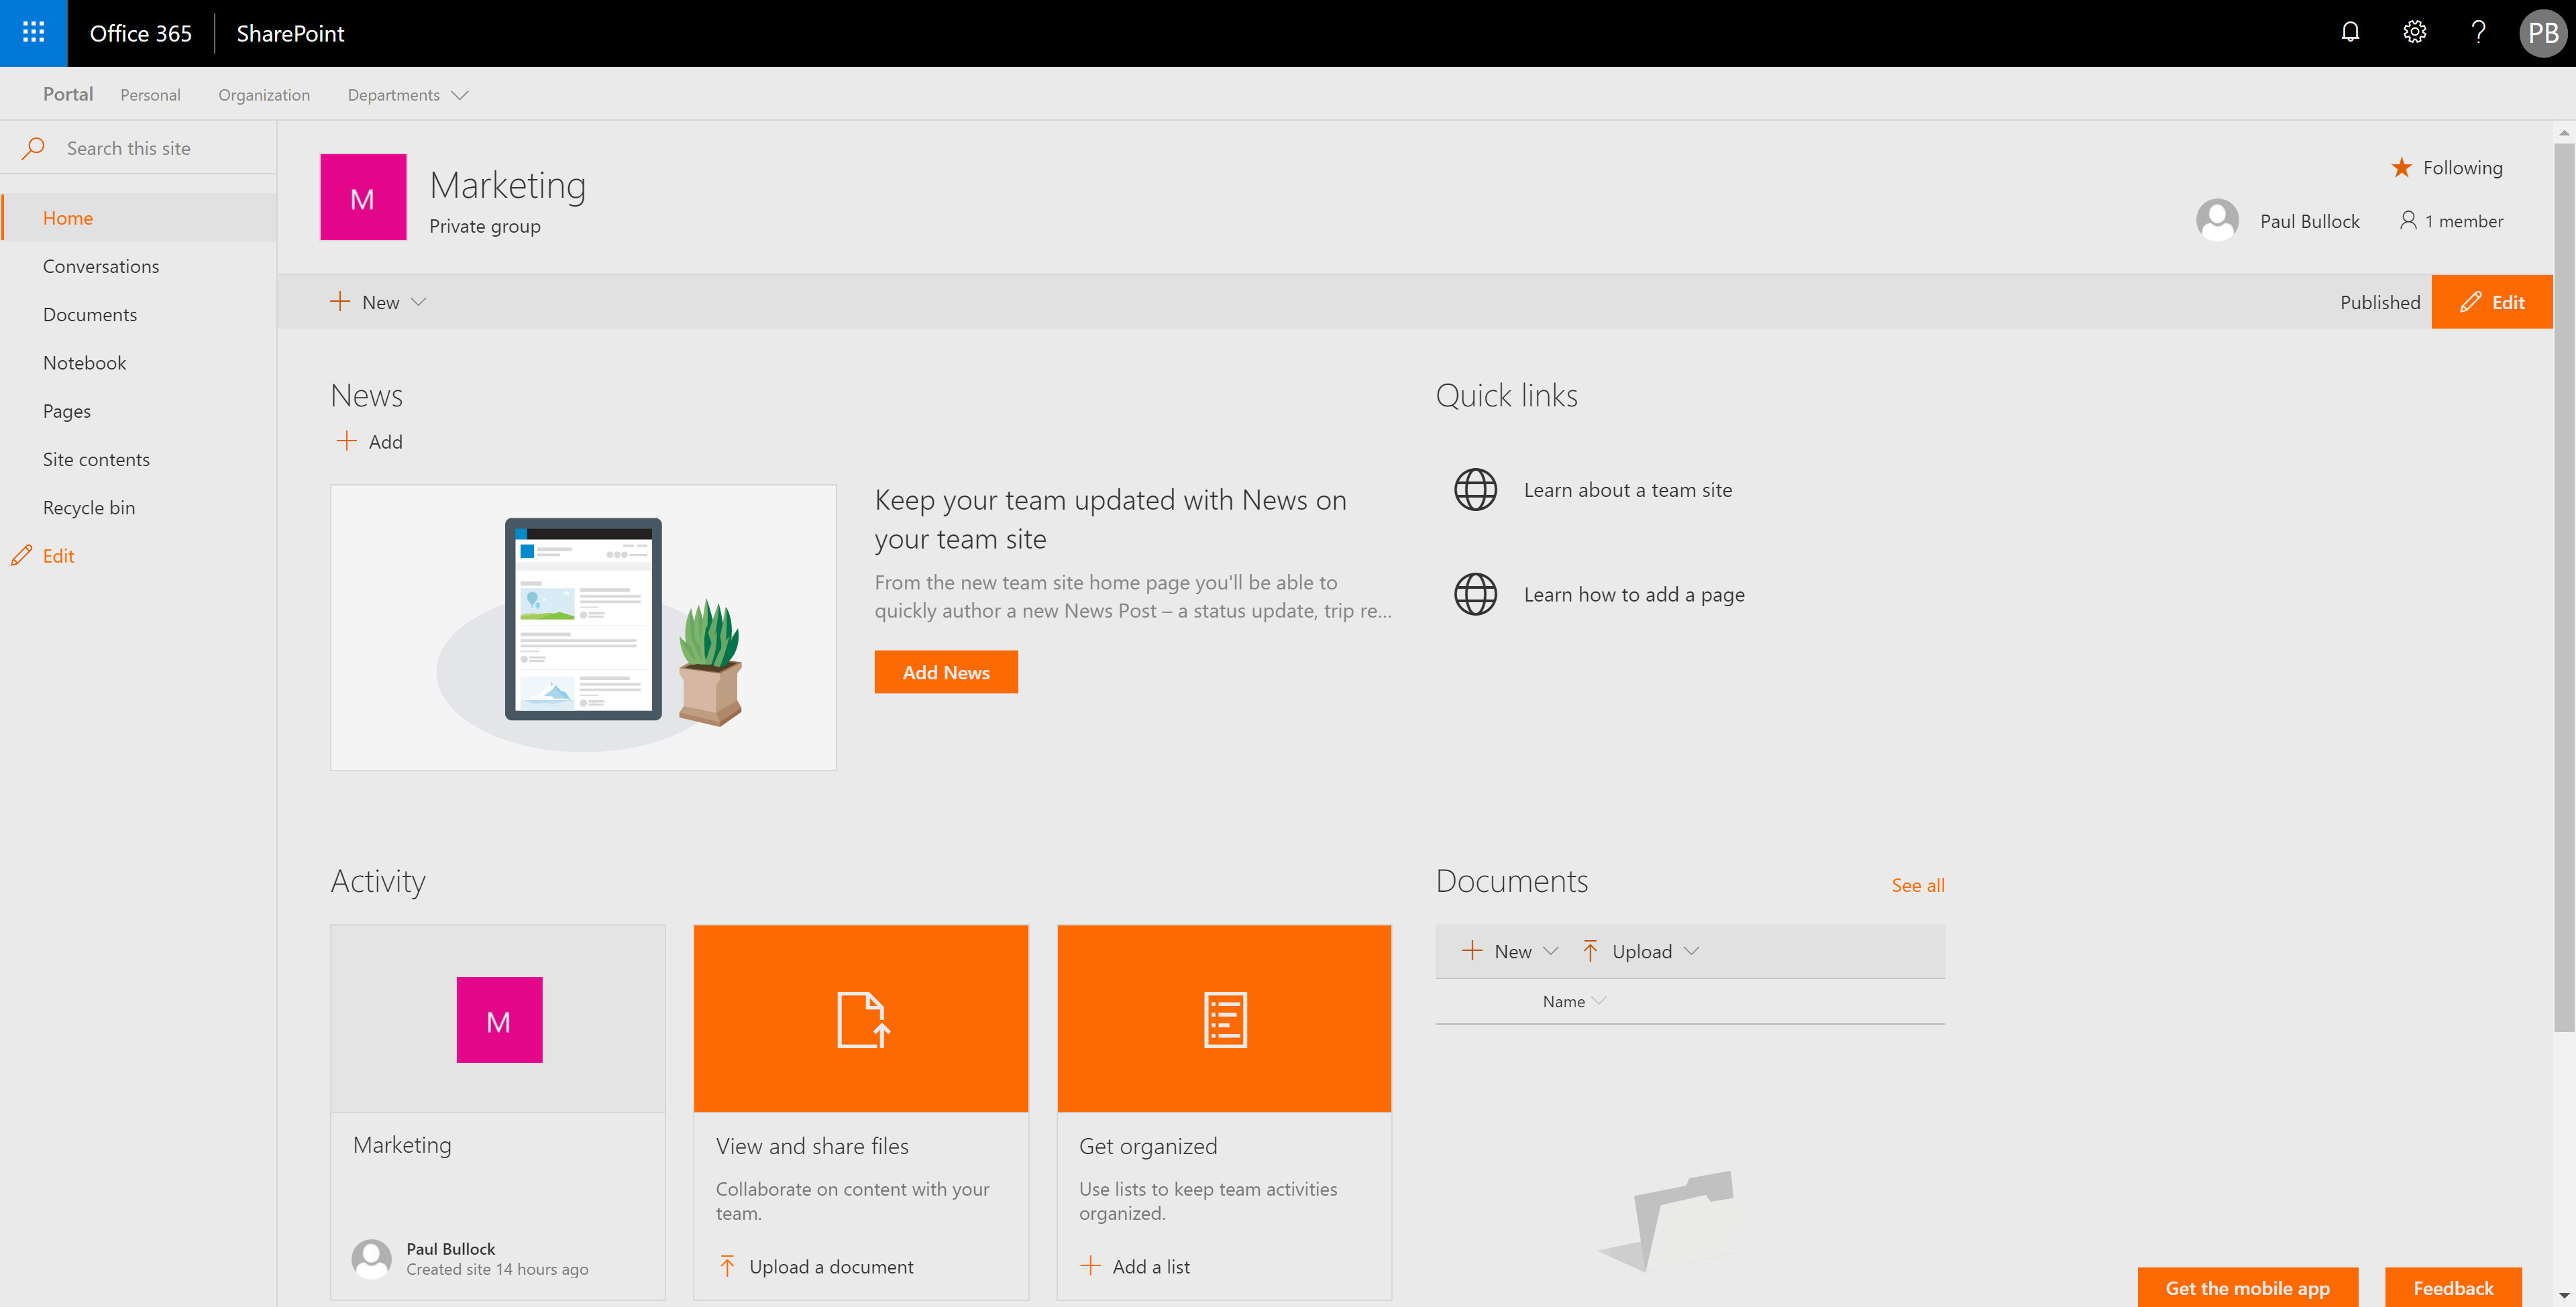
- Marketing Group (/Sites/Demo_Marketing)
- Human Resources (/Sites/Demo_HR)
What’s created in SharePoint Admin Center:

Deployed portal site
Deployed Marketing Site
Deployed Human Resources Site
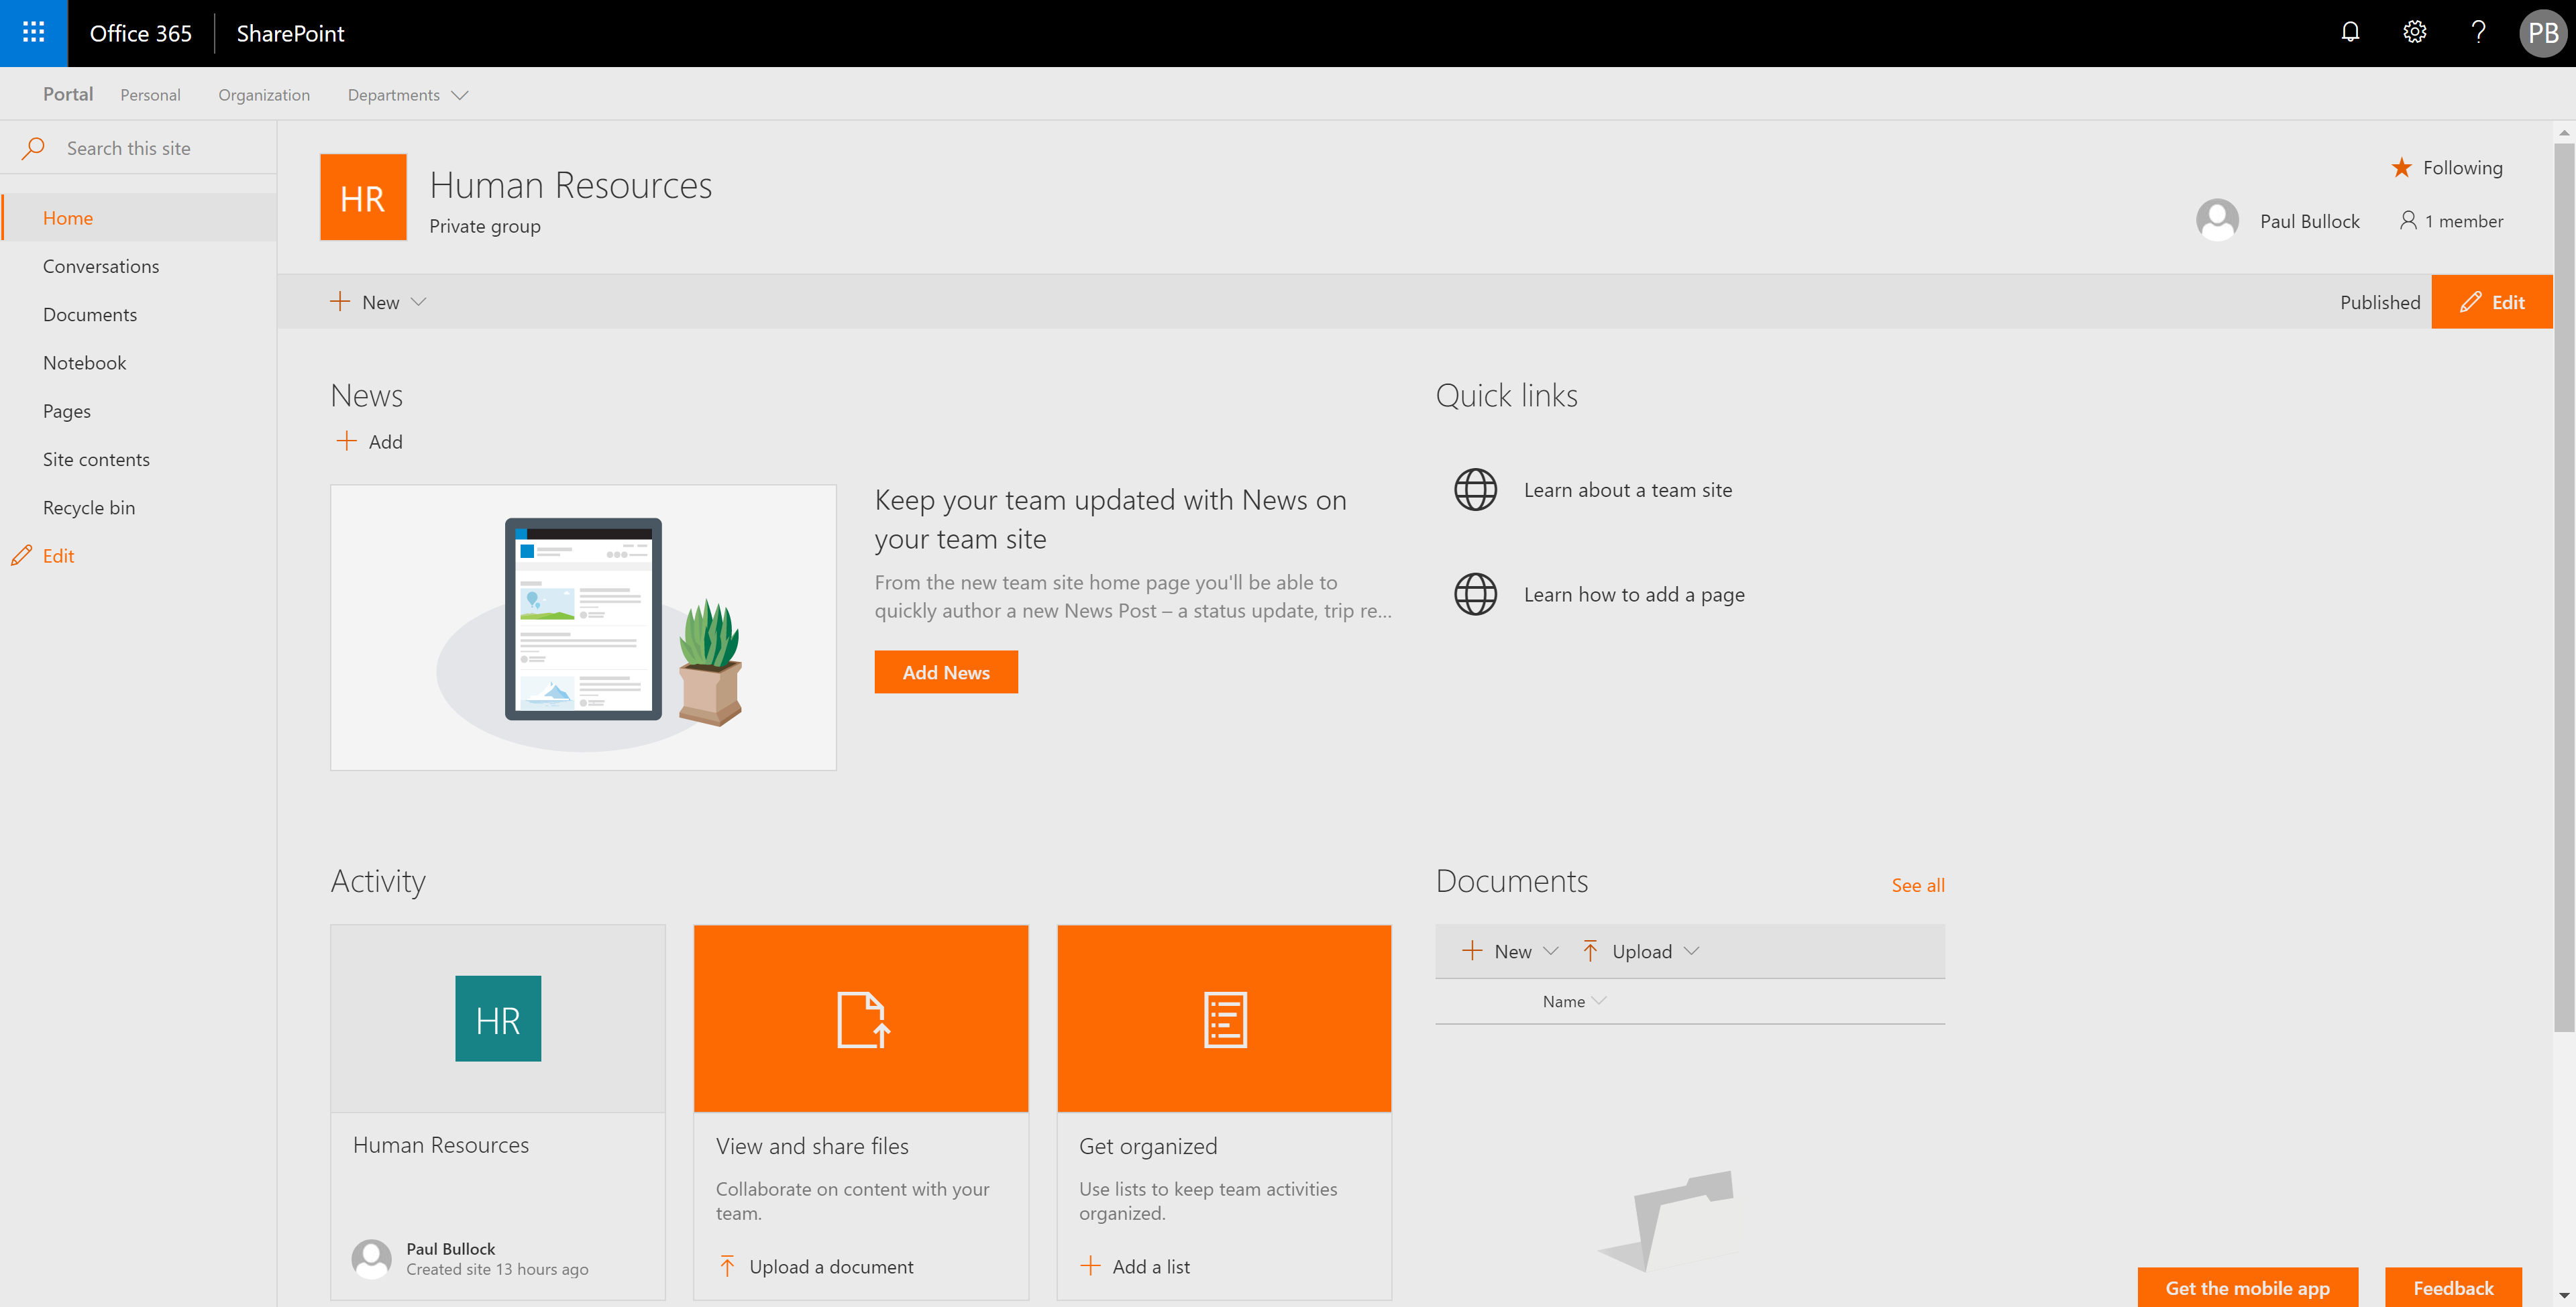
Have a look around. I really like the personal page. Although this didn’t work for me, I understand what these web parts are trying to do by providing a personalised experience and use of the Graph API and a people directory.
There is so much more as you know! But now you have a wealth of examples for Web Parts, Hub Sites, News, Application Customisers, Communication Sites, Site Designs, Site Themes, deployment scripts, the list goes on…
Thanks PnP Team for this awesome piece of work!
Update:
I mentioned earlier that the personal page did not work for me, after reviewing documentation around consuming the Microsoft Graph (https://docs.microsoft.com/en-us/sharepoint/dev/spfx/use-aad-tutorial#deploy-the-solution-and-grant-permissions) - there is one additional step to get this to work.
Go to the SharePoint Preview Admin Centre and go to API management, as described in the article:
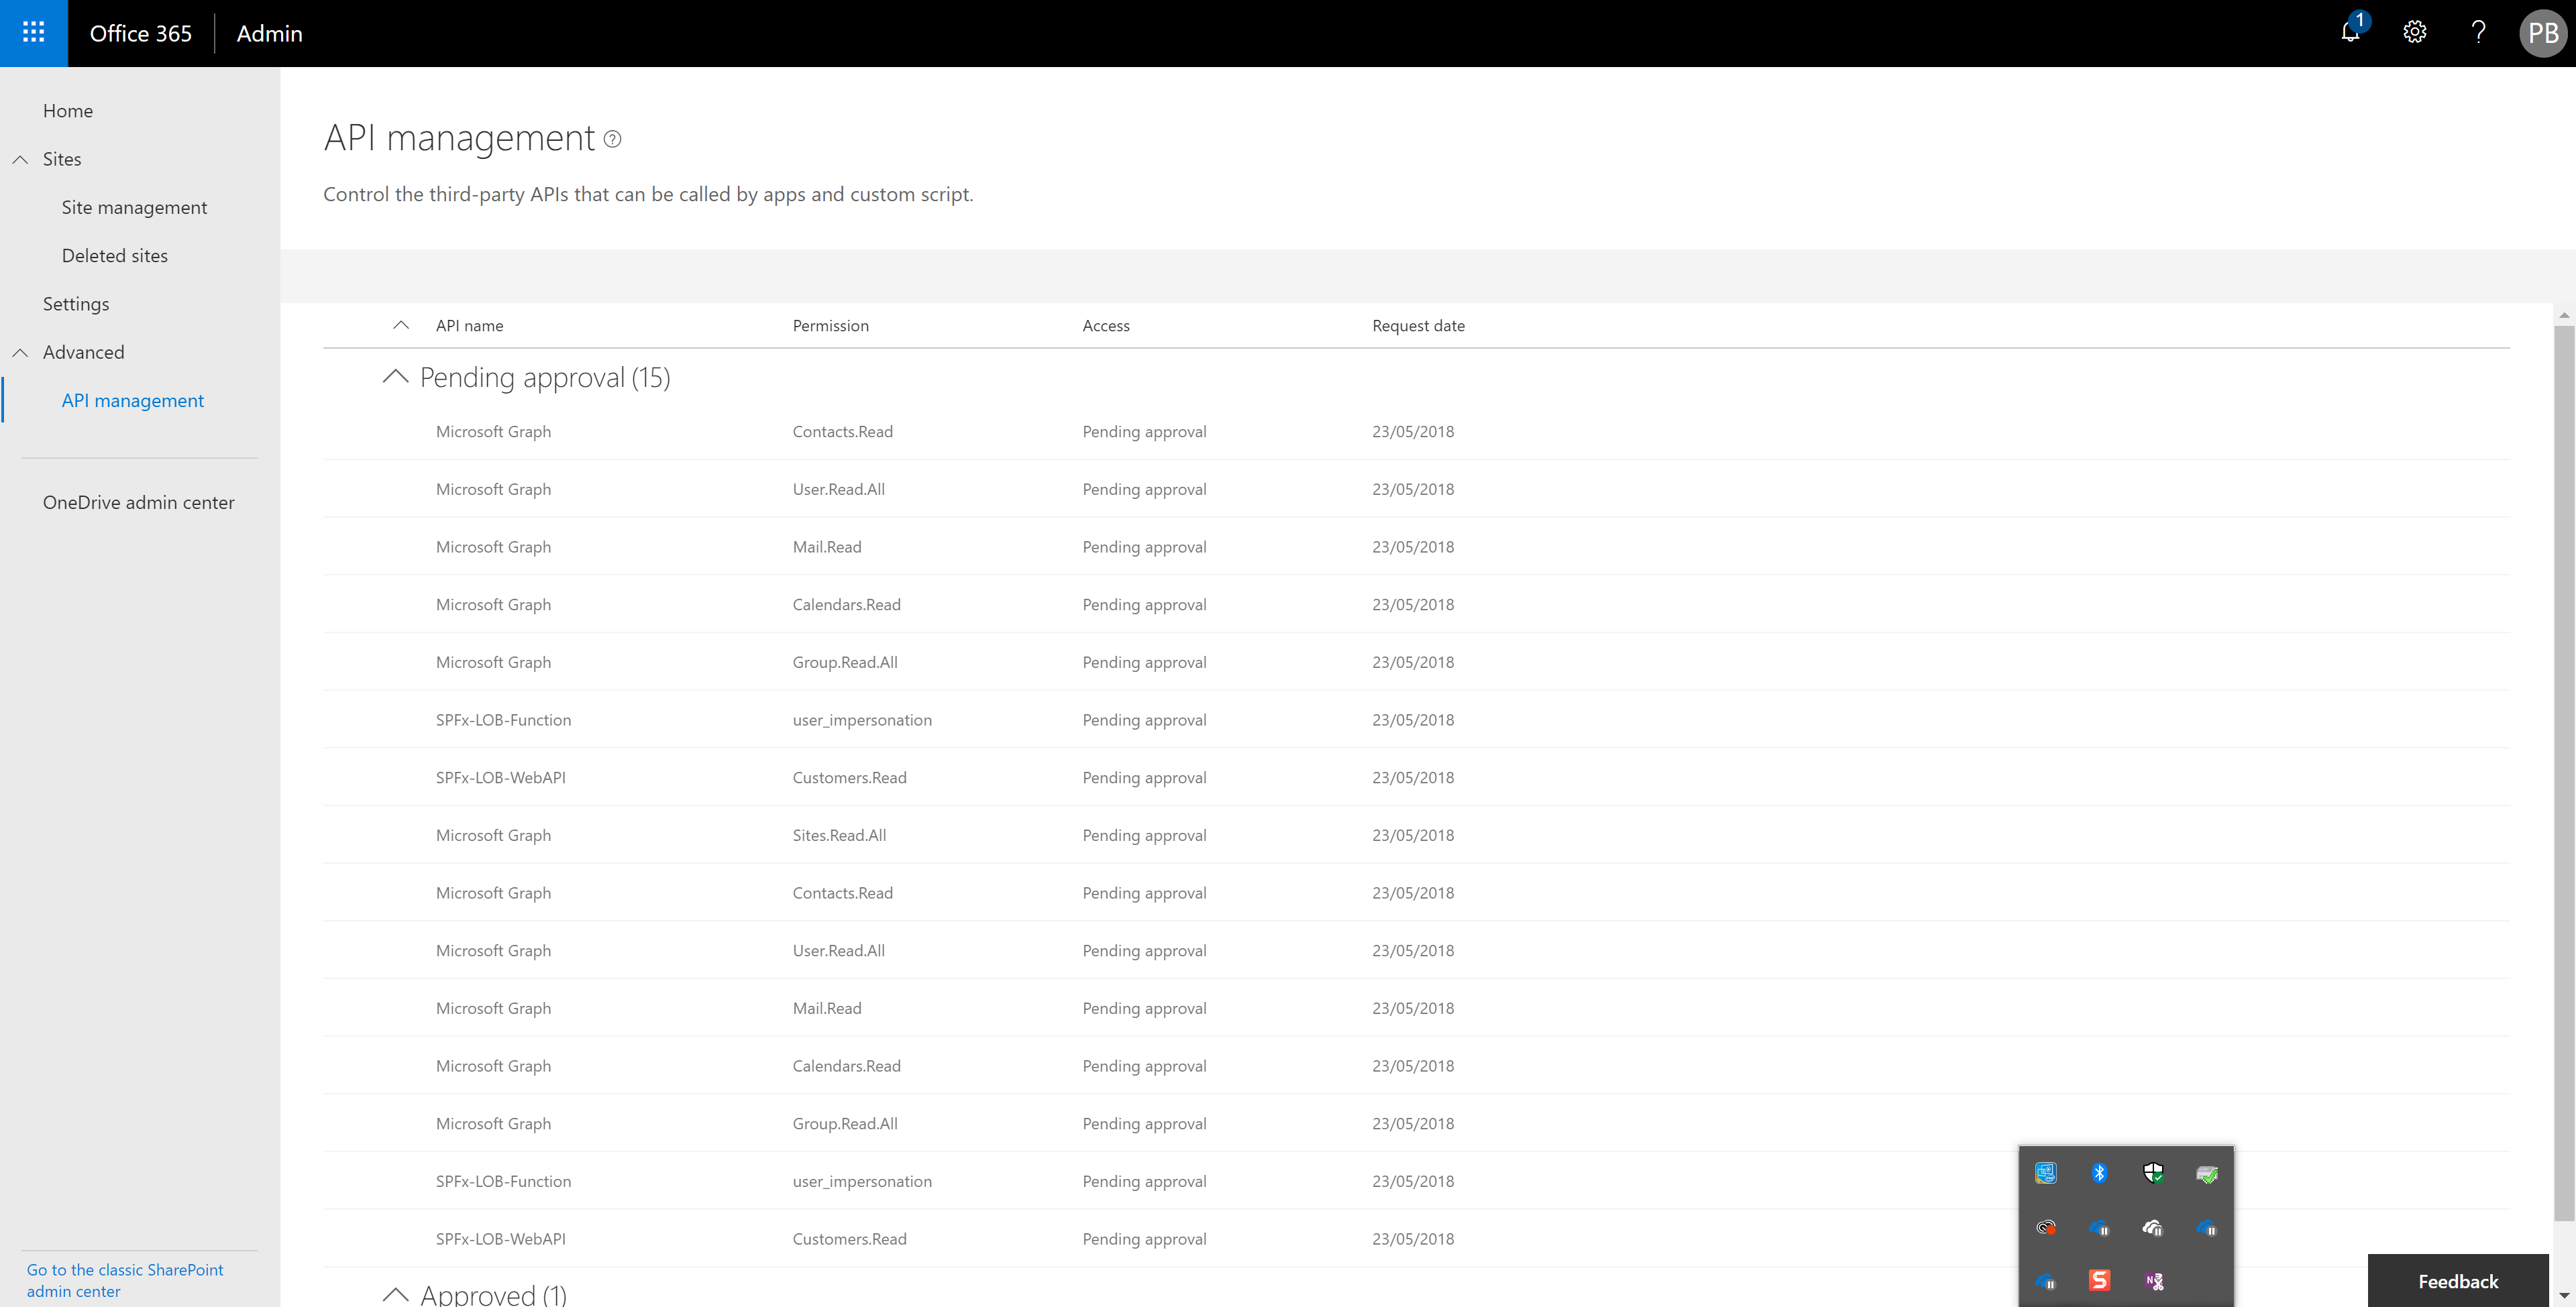
You will notice there are some “Pending approval” requests for API access, these ALL need to be approved.
Note: If you are like me and tried to deploy more than once, your list maybe different with some repeating requests- try approve all items; if you encounter errors whilst approving the request - reject them. I found that once all the requests have been either approved or rejected the personal page will start to work.
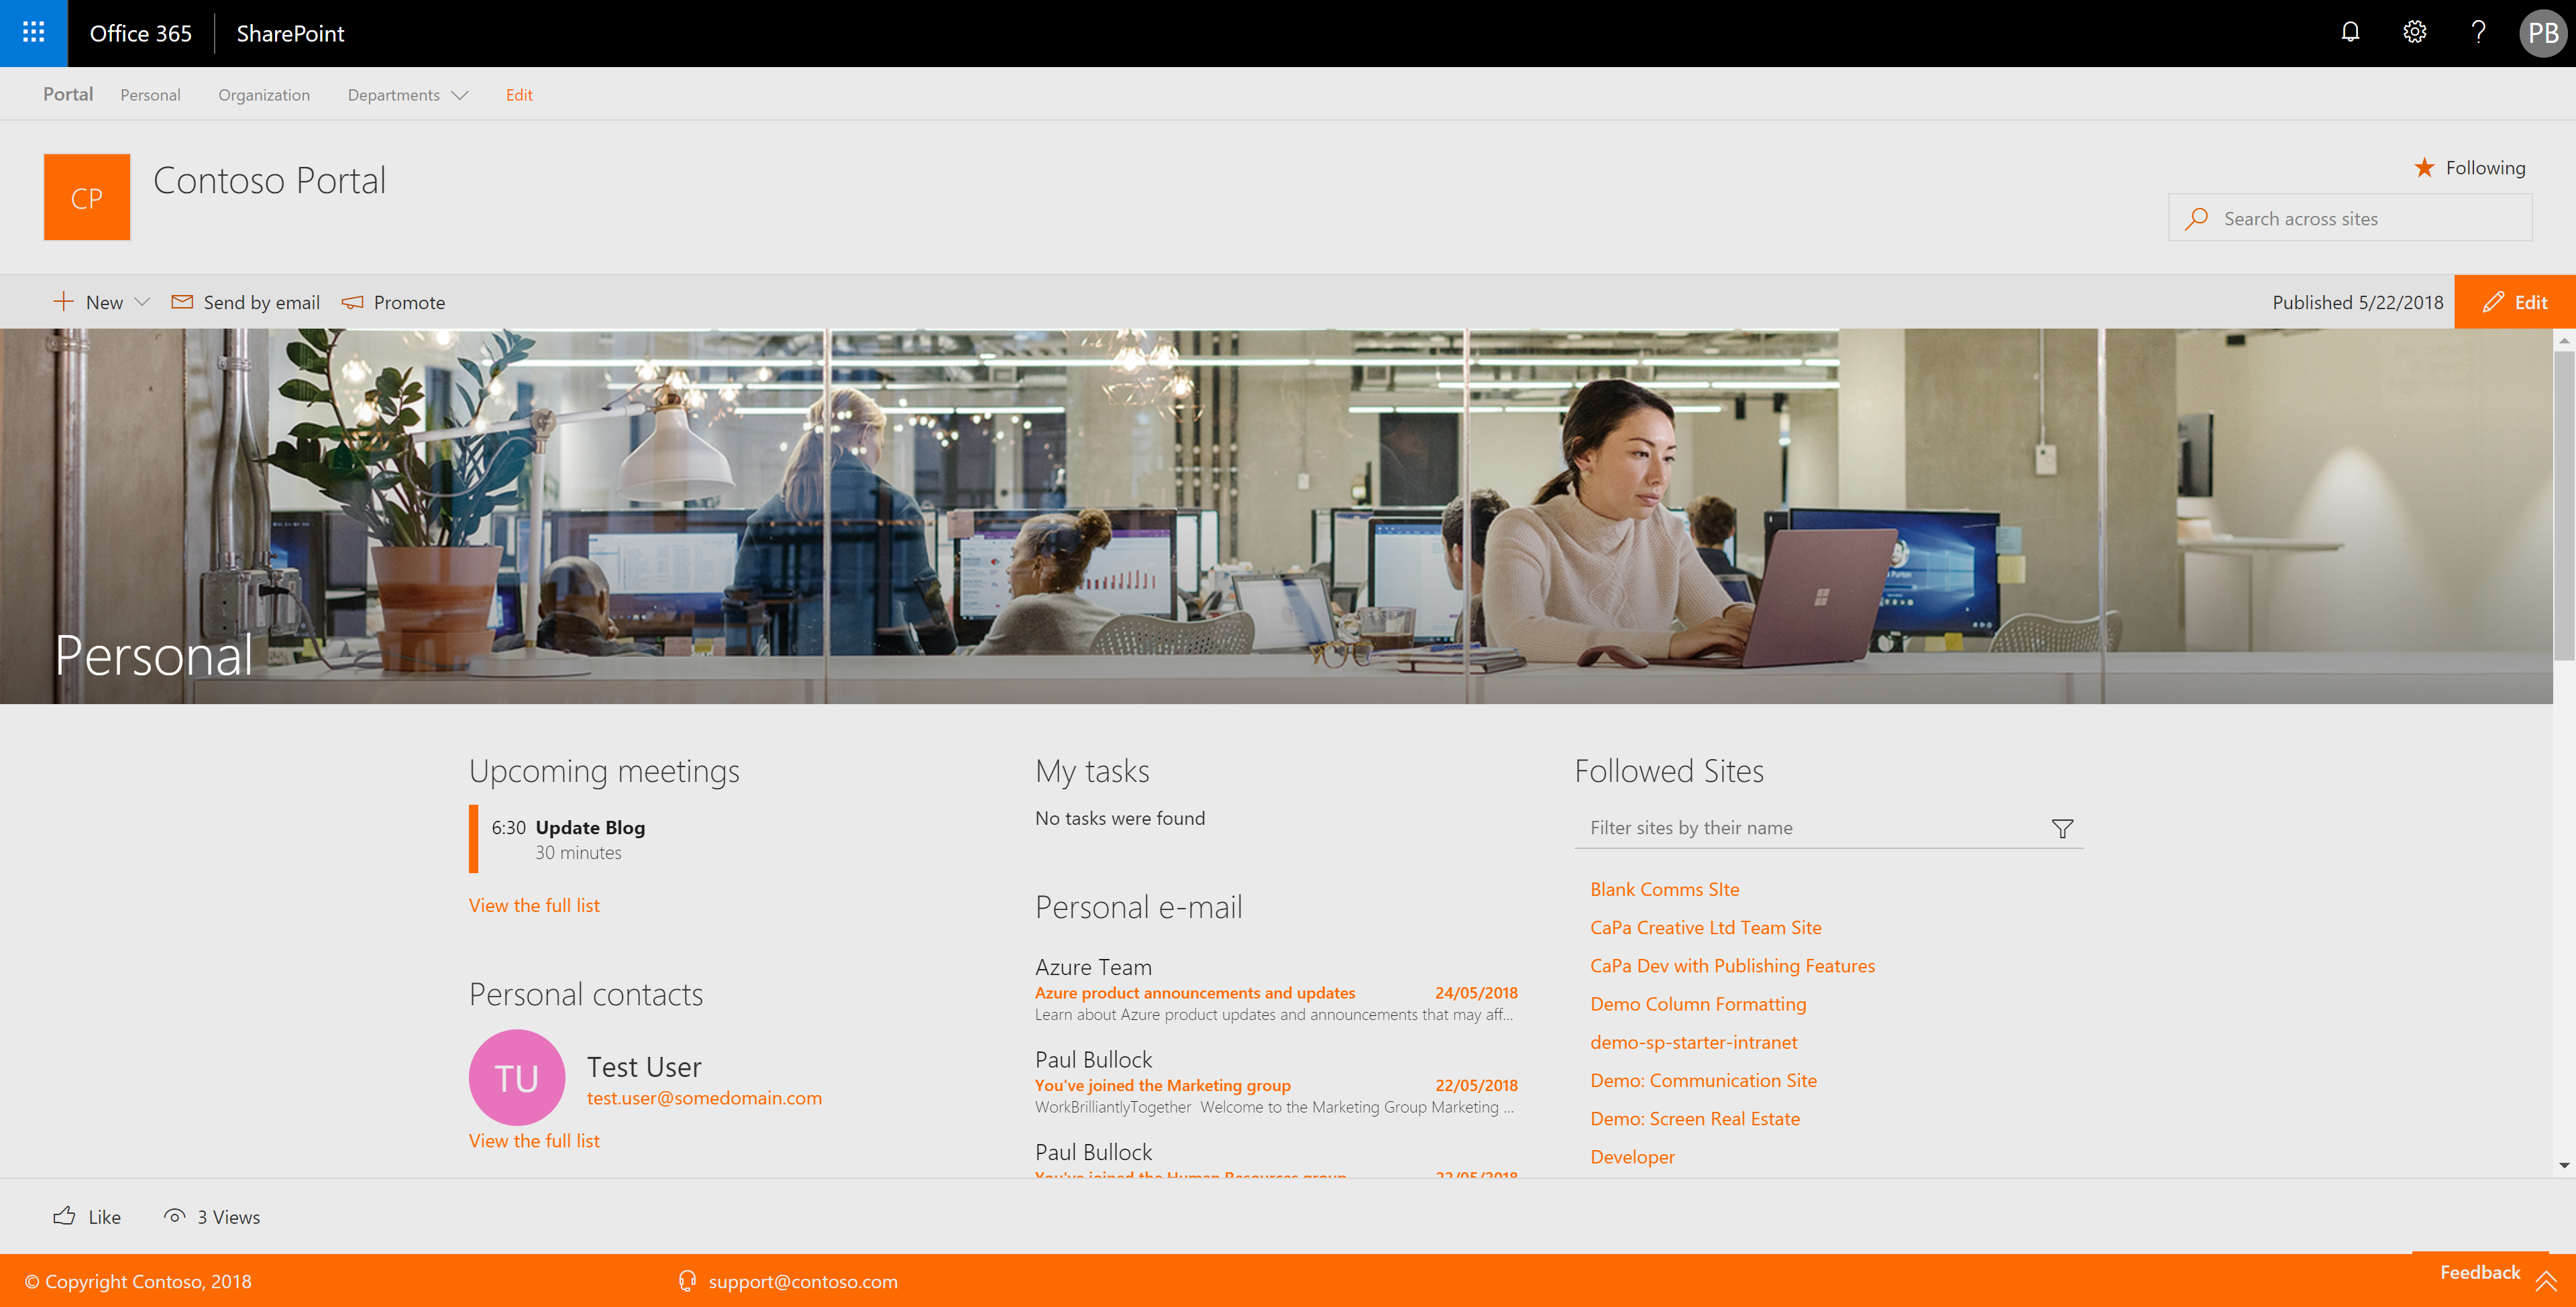
Enjoy!